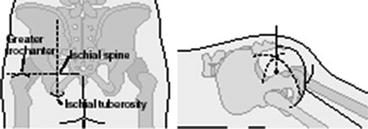
Fig. 15.1
X-ray showing lead insertion position

Fig. 15.2
Diagrammatic view of lead puncture insertion position
This technique is recommended to stay clear of veins and arteries and to avoid possible needle punctures or injections of anesthesia directly into the vascular system. The x-ray C-arm should be ready to perform anterior-posterior image of the pelvis. Locate the ischial tuberosity tip (ITT) and the greater trochanter (GT) with a pair of 90° angle crossed stylets placed on the patient’s skin, mark with a dot where the stylets cross.
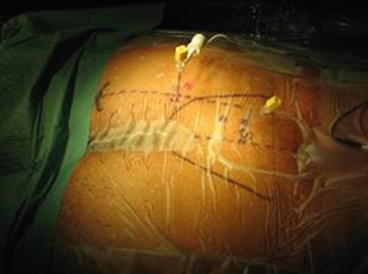
Puncture the intersection of the lines drawn vertically from the ITT and horizontally from the GT, as demonstrated in Fig. 15.4:
15.2.2 Preparation for Lead Insertion
Anesthesia should be administered to the patient only if proceeding with lead implant after skin drawing. Muscle relaxants should not be used. Avoid general anesthesia. Anesthetic choices include lidocaine solution for injections, maximum dose is 500 mg for healthy patients and bupivacaine with maximum recommended dose of 200 mg. Dosage should be minimized to preserve nerve response. Minimize the risk of vascular absorption by injecting slowly and in small boluses local anesthetic or chemotoxic substances, aspirate before injecting.
15.2.3 Acute Test with Test Needle to Locate Optimal Position
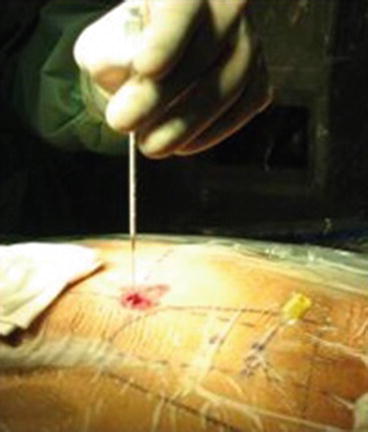
Place patient in a prone position, prepare the patient’s lower quadrant and connection site, and prepare perineum, gluteus, and sacrum for sterile surgery. Drape to allow observation of the pelvic floor for muscle response to test stimulation. Clean dry skin area, and affix the ground pad to it. Electromyography recording needle is gently inserted in the anal sphincter stimulation. Patient stimulation cable is connected to electromyography output. Vertically insert the insulated foramen test needle. Connect the mini-hook from the patient cable to the non-insulated part of the foramen needle and stimulate; see Fig. 15.3.


Fig. 15.3
Acute test with test needle
A 1 mA step increasing pulse current from 0 is used to locate the tip of the needle adjacent to the pudendal nerve by comparing the generated CMAP with the reference trace. An acceptable CMAP should be within a variability of 2 ms compared with the reference trace.
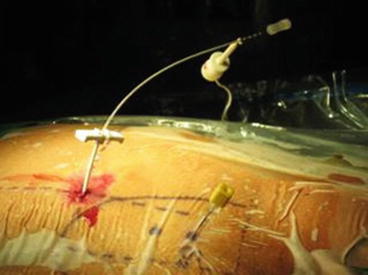
When satisfied with the needle position, replace needle stylet with the directional guide. Holding the directional guide, remove the foramen needle. Make a small incision on either side of the directional guide. Fit the dilator and introducer sheath over the directional guide and advance to the third most proximal depth marker on the directional guide with the top of the dilator; see Fig. 15.4.


Fig. 15.4
Preparation for tined lead insertion
15.2.4 Tined Lead Insertion
While holding the lead in place, retract the introducer sheath until the second visual marker lines up with the top of the introducer sheath handle (Fig. 15.5). A 1 mA step increasing pulse current from 0 is used to locate the tip of the needle adjacent to the pudendal nerve by comparing the generated CMAP with the reference trace. Stimulate the various electrodes and observe the generated CMAP; see Fig. 15.6.


